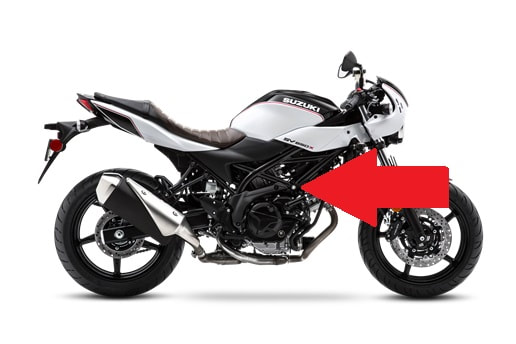
2017-2023 SV650 SV650X Frame Sliders Installation
WARNING: The installation of all parts in these installation instructions must be performed by a qualified motorcycle mechanic who is using the correct tools and who understands the correct use of all tools required to complete the installation.
Tools you will need:
Torque wrench
2 Ratchets
2 Extensions
17mm Deep and Regular Sockets
19mm Deep and Regular Sockets
1. Locate the engine mount bolt (figure A). This is a long bolt that runs through the engine and has a nut on the left side.
On the right side, it is directly above the water pump housing, and on the left, it is above the stator cover.
2. Use a 17mm socket, ratchet and extension on each side and loosen/remove the engine mount bolt. It is
easier to loosen the nut while holding the bolt.
Our supplied frame sliders bolt is a threaded rod which uses a lock nut on each side. We use red loctite on one of the nuts before shipping the parts. The opposite nut is hand tight on the threaded rod and does not need loctite on it upon final installation.
3. Hold one slider in place, insert the bolt with washer through it and push the bolt through to the other
side. WARNING: THE WASHERS SENT WITH THE BOLT MUST BE USED
4. Install the opposite slider onto the bolt and put the washer and nut on. The easiest way to do
this is by putting the nut into the 19mm socket/ extension and using that to get the nut started.
5. Tighten the nut while holding the other side with your other ratchet, extension, and 19mm socket. Torque the screw to the factory torque specification (same as factory bolt).
Special notes:
You can order just one side if one slider is damaged in a drop or crash.
Technical assistance is available- please contact us with questions.

